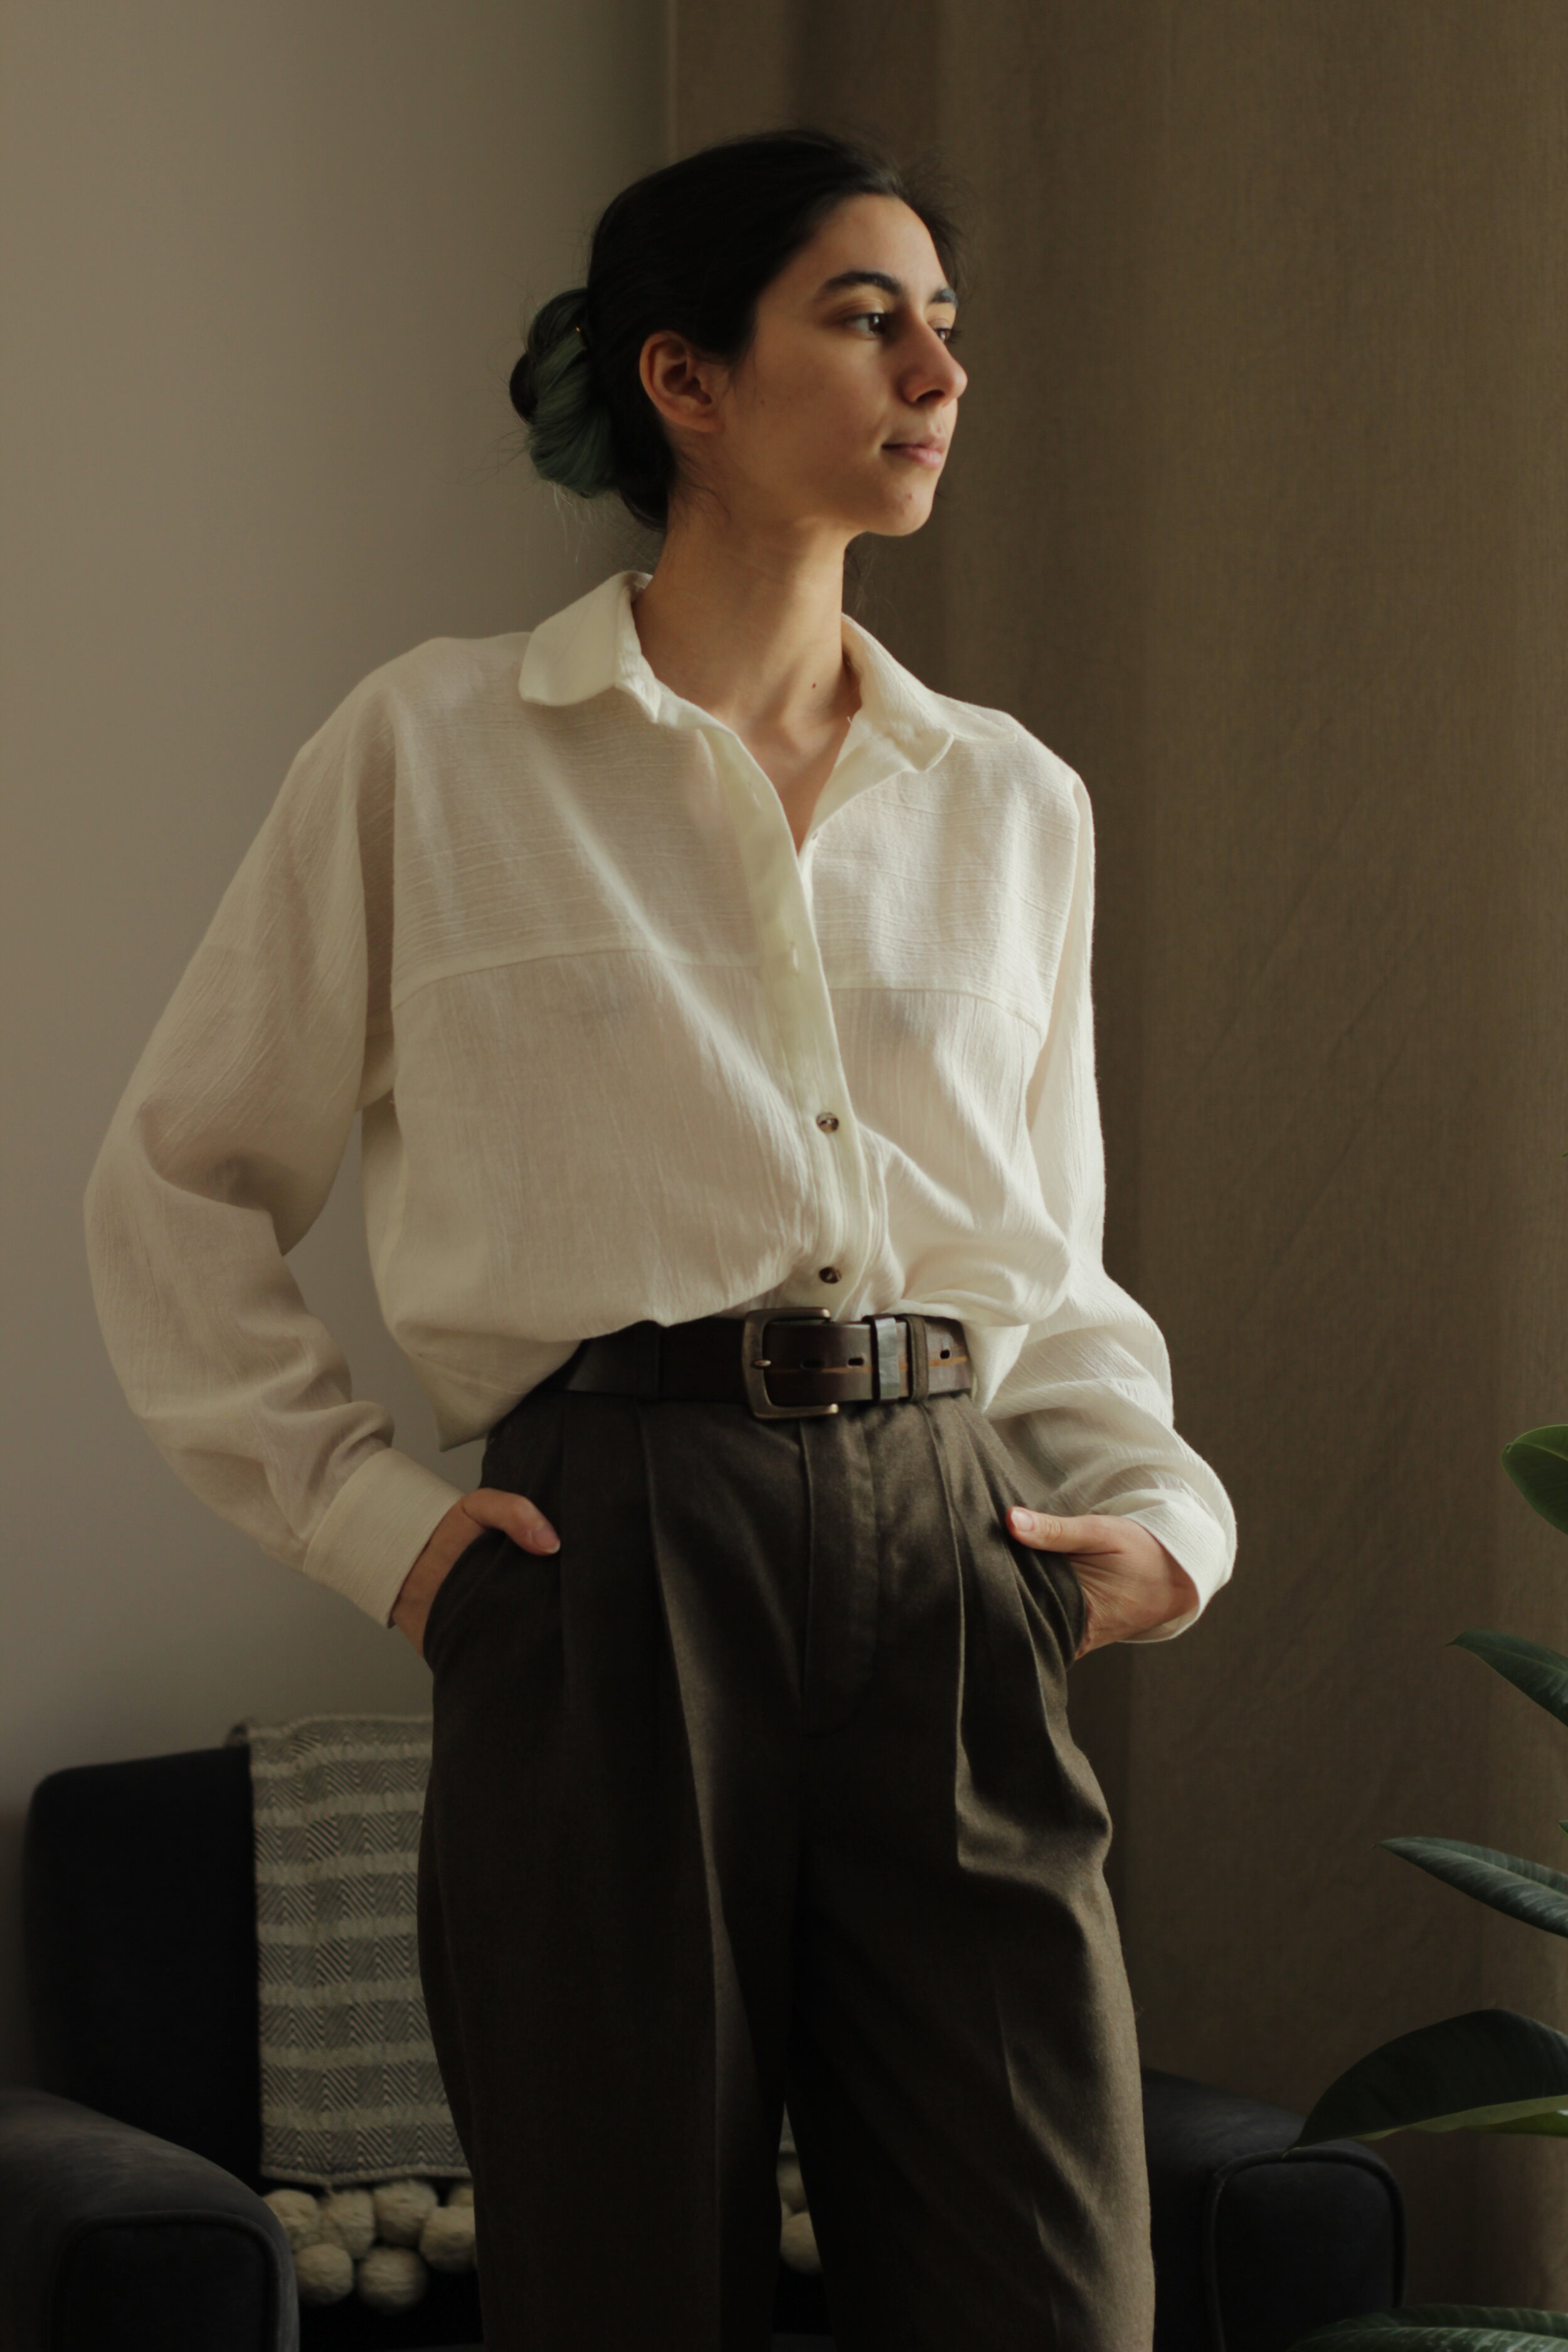
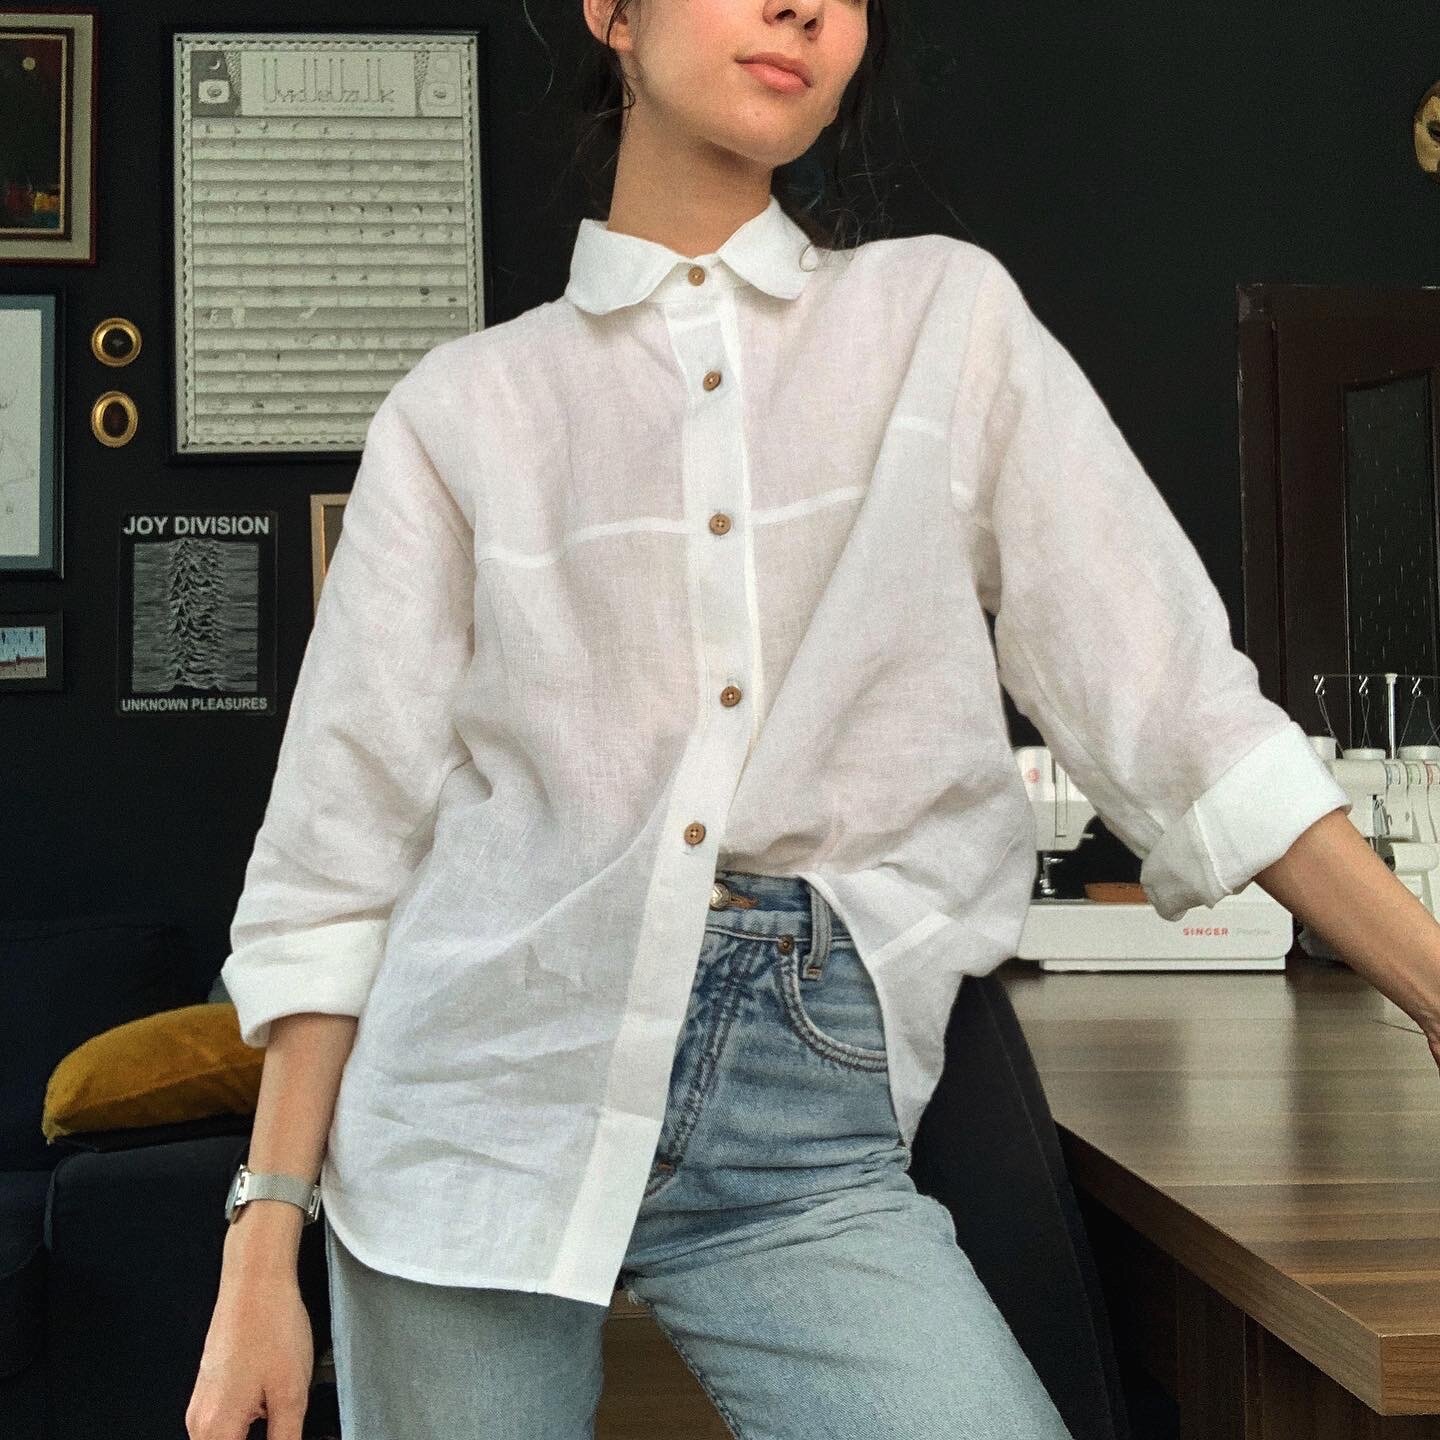
Olya Shirt by Paper Theory
Hello!
If you’ve been following me on Instagram for a while, you may have noticed that I like finding a pattern I love and making a million versions of it. I have 5 pairs of Persephone pants, two pairs of Acajou pants, many many Tyra tees and Eva tops but one pattern in particular takes the cake when it comes to being made multiple times: the one, the only, the ever so beautiful Olya Shirt by Paper Theory! I recently made my 10th one, so I thought I would write a blog post reviewing it and giving a couple of tips for those of you who are interested in making one - or 10!
Now, Olya was the first sewing pattern I ever purchased, so it holds an extra special place in my heart. I remember seeing Maya's (@hemelbreker) incredible versions of it and after chatting to her a bit about it, I decided to be brave and give it a shot myself. Fun fact: we ended up making white linen versions (hers & mine) at the same time so I end up thinking of her and smiling whenever I wear that first one I made <3
Here are the basics: it’s an oversized button up shirt with all the classic details you’ve come to associate with button up shirts: it features a collar with a stand, sleeve plackets, cuffs, a button placket, a back yoke and a curved hem. But you see, the Olya is no ordinary shirt: it has a cool twist to it! The front yoke extends and forms the whole sleeve, so while you have an armhole at the back, you don’t see one at the front. The back yoke and the front yoke / sleeve pieces form a crisp right angle right at the back of the shoulders as a result, and it’s just the coolest design feature ever. It also comes with a dress view, which I love the look of. Especially when worn open like a duster! Here are two versions I absolutely adore, one from Mel (@melt.stitches) and one from Rachael (@minimalistmachinist).
That twist in construction is what got me so hooked on making Olya after Olya: it gives the ordinary oversized shirt that extra bit of visual interest and edge so that it’s an extra cool classic. It’s also very fun to sew once you wrap your head around how it all goes together!
I highly, highly recommend checking out the sew-along Tara created for the Olya Shirt, as I find that it makes the construction super clear and easy to follow. I never even opened the instructions for it, I always went by the sew along and I’ve had great success with it from day one. It taught me how to sew sleeve plackets (which were my arch nemesis for a long time) and I’m forever grateful to the Olya for that :’) There’s also a tutorial Tara created for sewing right angles, and it comes in handy for those corners formed by the back yoke and sleeve, make sure to check it out before you sew an Olya.
Fabric Choice
So far I made three in linen, two colour blocked ones from linen remnants, one in a silk-linen blend, one in a cotton-linen blend, two in Şile cloth (a type of crinkly cotton gauze), and one in a linen-viscose blend. As you can see, I have a thing for linen and linen blends when it comes to the Olya, I just think they work so well together. The more structured, bouncier linen ones I made work great on their own and as layering pieces, while the more drapey ones are perfect to throw on when you want to feel comfortable but look put together.
My most worn versions are the first white linen one I made, the off white silk-linen blend, the golden olive linen one and I suspect my newest cotton gauze one will make that list in no time. Because of the cool construction of the front yoke / sleeves, striped fabrics work great with this pattern: you’ll get the stripes going down vertically on the sleeves and bottom of the front while the front yoke will have horizontal stripes! Here’s a version I love I’m still looking for the perfect striped linen to make one :’)
I also feel like this pattern begs to be colour blocked (hence why I made two :D) because it really highlights the interesting costruction. I absolutely adore these two colourblocked versions: one from Meg (@meg_____makes) and one from Kathleen (@kathleenbmur).
Sizing
The Olya Shirt currently comes in sizes UK 6 - 20, but Tara announced that The Olya Shirt will have new sizes (22-28) added in added in the second half of 2021. As it stands now, it goes up to a 114 cm / 45” bust.
All the versions I made for myself are size 6. Here’s how my measurements compare to the size chart for your reference:
Tara provides great, detailed information on her website about sizing, and as she mentions there, there’s a lot of ease built in to Paper Theory patterns. I usually pick my size based on my high bust measurement and consider doing an SBA (Small Bust Adjustment) on patterns for tops, but I never needed to do that with the Olya. I just picked the closest size to my full bust measurement and it always worked out just fine :) I have made a couple of Olyas for my partner and my mom, all based on their chest / full bust measurements and those fit them great as well.
Modifications
There are a couple of minor modifications I do when I sewing up a regular Olya: I skip the pockets, add a small hanging loop under the back yoke, and I attach the collar stand the same way I attach the cuffs. I did try the burrito method shown in the sew along a number of times, but mine never come out as clean as I would like them to be. So now I just slip stitch the insides of the collar stand and cuffs by hand, making the whole process less stressful and much cleaner.
I’ve also done one more modified version where I cropped the length by 16 cm / 6” and left out the collar piece to get a mandarin collar. I really like the cropped length for the Olya, but I would slightly lessen the height of the collar stand if I ever did another one with a mandarin / grandpa collar.
Links to All My Versions
Finally, here are links to the dedicated Instagram posts of all the versions I’ve made for myself:


